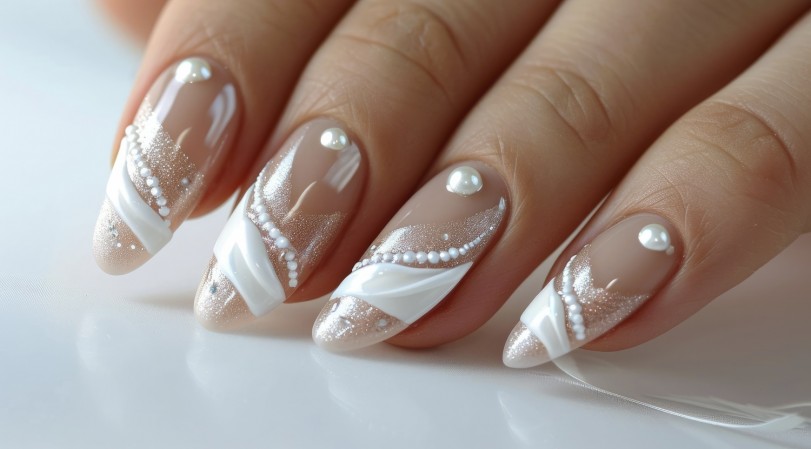
(Photo : Vecteezy / Mehdi Hasan)
Textured nail art is a fun and creative way to express yourself through your manicure. Whether you prefer bold and eye-catching designs or subtle and elegant styles, there is a textured nail look for everyone.
What You'll Need
To create textured nail art, you will need a few key products. Start with a base coat to protect your nails, followed by your chosen nail polish colors. For the textured effect, you will need a thick structure gel or 3D gel, which can come in clear or colored varieties. Additionally, consider using chrome or iridescent powder for added shine and dimension.
Creating Textured Nails
Begin by applying a base coat to your nails and letting them dry completely. Next, apply your chosen nail polish colors and create your desired design. For a 3D effect, use a thick structure gel or 3D gel to add texture to your nails. Start with small amounts of gel and build up the texture gradually for the best results.
To ensure your textured nail art lasts, it's important to cure the gel between layers. This helps to lock in the texture and prevent it from flattening or losing its shape. Additionally, consider curing the gel between your fingers to ensure the texture stays in place.
Inspiration for Textured Nails
For inspiration for your textured nail art, consider these ideas: create a warm and cozy look with sweater nails featuring an embossed design, add elegance with bridal nails adorned with lace accents, keep it subtle with simple single-studded nails on your ring finger, add texture with gritty nails using a raised surface created with a pointy stick, or get creative with multi-colored zig zags using a palette of different colors for a vibrant look.
Conclusion
Textured nail art is a fun and versatile way to elevate your manicure. With a few key products and some creativity, you can achieve stunning textured nails at home. Experiment with different designs and techniques to find the perfect textured look for you.

